Lighting is an essential element in any home, and having a unique lamp can add character and personality to a room. If you’re a fan of medieval aesthetics, why not make a DIY lamp that looks medieval?
In this article, we’ll guide you through the steps of creating a lamp that has a medieval look, whether you prefer a candle-based or electric design.
Step-by-Step Guide for Creating a Medieval-style Lamp
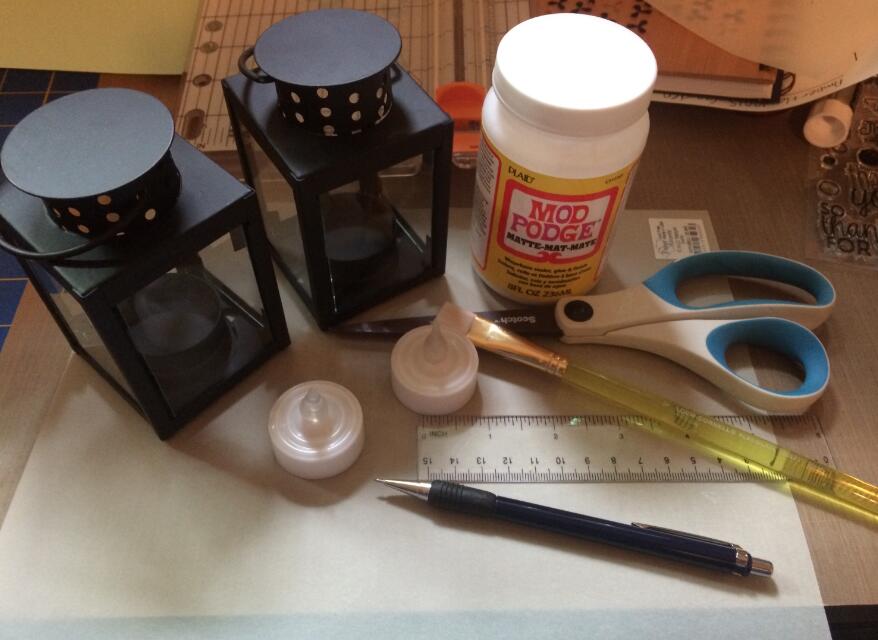 Here are some material you may need:
Materials Required for a Candle-Based Lamp:
- Wooden base (8-10 inches in diameter, 1-inch thick)
- Wooden dowel (1.5 inches in diameter, 18-24 inches long)
- Candle holders
- Beeswax candles
- Beeswax sheets
- Wicks
- Sandpaper
- Metal or another distressing tool
- Gloves and safety goggles
- Embellishments (optional)
Materials Required for an Electric-Based Lamp:
- Wooden or metal base
- Lamp kit
- Wire
- Light sockets
- Edison bulbs (or other antique-looking bulbs)
- Sandpaper((80-grit and 120-grit)
- Metal or other distressing tool
- Gloves and safety goggles
- Embellishments (optional)
Step 1: Sketch Out the Design
Before you start building your medieval-style lamp, sketch out the design you have in mind. This can help you visually plan out the size, shape, and layout and even the finishes of the lamp, and ensure that you have all the necessary materials before you begin.
Step 2: Decide on the Type of Lamp to Make
You can make two types of medieval-style lamps – candle-based or electric-based. A candle-based lamp will require purchasing candle holders, wicks, and candles.
An electric-based lamp will require purchasing a lamp kit, light sockets, bulbs, and wire. Decide which option works best for you based on your expertise level, safety concerns, and the aesthetic you want to achieve.
Step 3: Purchase Required Materials
Once you have decided on the type of lamp you want to make, purchase the required materials. Choose a wooden or metal base for the lamp and any necessary components such as candle holders, lamp kits, and light sockets.
Buy safety equipment like gloves and safety goggles to protect yourself when working with tools and materials. Consider buying extra embellishments such as jewels or metalwork to add detail and character to your finished lamp.
Step 4: Cut or Buy the Lamp Base
The base is the foundation of the lamp. You can cut the base yourself using a saw or purchase a pre-cut base. Wooden or metal bases work well for both electric and candle-based lamps. Consider the size and shape of your lamp before buying or cutting your base material.
Step 5: Create a Distressed Look for Lamp Base
Distressing the base of your lamp will create a more authentic, antique look. Sand the base with sandpaper, focusing especially on the edges to create a rougher texture. Use a metal or another distressing tool to create small scratches, dents, and other marks that will give the lamp a weathered appearance.
Step 6: Add the Candle Holders or Electrical Components
For a candle-based lamp, add the candle holders to the base, making sure they are securely fastened. Insert the wick into the beeswax candle and place it in the holder.
Option: (Select a metal candle holder or metal tea light holder that fits the medieval aesthetic. Attach it to the top of the dowel using wood screws. Pre-drill pilot holes to make the process easier.)
- For electrical components:
Drill a hole in the side of the dowel near the base, large enough to fit the cord of the light socket. Insert the socket and secure it to the dowel using screws. Make sure to follow the manufacturer’s instructions for assembling and installing the light socket.
Step 7: Add Embellishments
Add embellishments to the lamp or lampshade for a personalized, medieval look. Consider adding metalwork, ornate designs, or jewels to the base or candleholders.
To embellish the lampshade, attach textured materials such as animal skins or tapestries. Add tassels or torn edges to the lampshade to give it a more rustic look.
Step 8: Sand and finish the lamp.
Sand the entire lamp using 120-grit sandpaper to smooth out any rough edges or imperfections. Wipe away any dust with a damp cloth. Apply a dark-colored wood stain or paint using a paintbrush, and let it dry completely.
Step 8: Test the Lamp
Testing your newly constructed lamp is important to ensure safety and proper functionality. To do this, light the candles for a candle-based lamp and turn on the switch for an electric-based lamp.
Ensure that the wick is centered in the candle, and the candle holder is secure for the candle-based option. For the electric-based lamp, make sure the wire is safely attached, and the bulbs are screwed in correctly. Make any adjustments necessary, then test the lamp again.
The completed medieval-style lamp will give your living space a touch of character and distinction. By following this detailed guide, you can make a unique and striking lamp that will be a conversation piece in your home.
More Ideas for Creating a DIY Medieval Lamp
Wrought iron design: Consider using wrought iron elements for the lamp base, dowel, and lampshade to enhance the medieval aesthetic. You can find wrought iron components at antique stores, flea markets, or online.
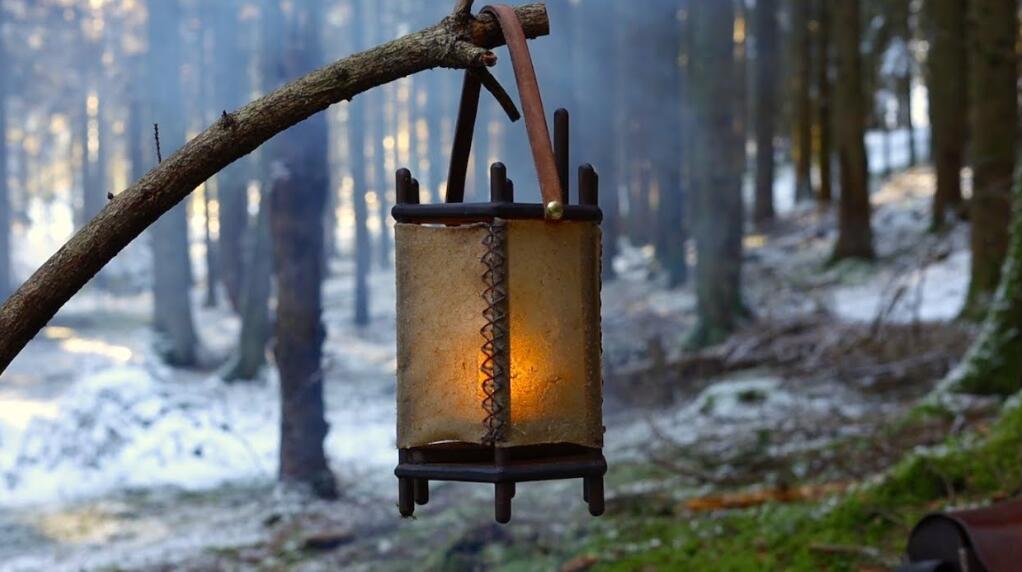
Gothic-style lantern: Create a gothic-style lantern using stained glass or colored glass panes. You can either buy a pre-made gothic lantern or make a frame using metal or wood and attach the glass panes.
Wall sconce: Instead of a freestanding lamp, create a medieval wall sconce by attaching a wooden or metal bracket to the wall and adding a candle holder or electric light fixture to it. You can also add a decorative metal or wooden backplate to enhance the medieval look.
Chain suspension: Suspend your lamp or lantern from the ceiling using chains or ropes for an authentic medieval feel. Be sure to securely anchor the chains or ropes to ceiling joists to support the weight of the lamp.
Use rustic materials: Incorporate rustic materials such as wood, metal, and leather in your lamp design. For example, you can wrap the dowel with leather straps or use metal accents on the base and lampshade.
Add embellishments: Enhance the medieval look by adding decorative elements such as metal studs, embossed patterns, or carved wooden motifs.
Candelabra-style lamp: Create a candelabra-style lamp by attaching multiple candle holders or electric light fixtures to a single central dowel or base. You can arrange these in a circular or linear pattern.
Torch-style lamp: Design a torch-style lamp by attaching a conical metal or glass shade to the top of the dowel. Place a candle or electric light inside the shade to create the appearance of a torch.
Antique finish: Give your lamp an antique finish by using a faux painting technique, such as distressing, crackling, or applying a dark glaze over the paint or stain.
Use period-inspired fabrics: If you prefer a softer look, use period-inspired fabrics, such as damask or velvet, for your lampshade. Be sure to use a low-heat bulb to avoid any fire hazards.
Remember to plan out your design before starting the project and gather all necessary materials and tools. Always exercise caution when working with electrical components and follow the manufacturer’s instructions.
Videos Collections That May Inspire You:
1. Medieval Laterns
https://www.youtube.com/watch?v=pQXGfNxxW_s&pp=ygURZGl5IG1lZGlldmFsIGxhbXA%3D
2. Silence of the Lamps
Tips and Considerations to Make a DIY Medieval Lamp
Here are a few additional tips and considerations to keep in mind when making a DIY lamp:
1. Safety First
Working with wood, metal, and electrical components can be dangerous if not approached with safety in mind. Always wear gloves and goggles when working with tools to protect your hands and eyes. Keep sharp tools away from the reach of children.
2. Prepare Your Workspace
Make sure you have a clear workspace to assemble and build your lamp. Ensure that it is well-lit, and all necessary materials are at hand. Keep your workspace organized, and clean up at the end of each work session.
3. Choose the Right Bulbs
When selecting light bulbs for your electric-based medieval-style lamp, choose bulbs that align with the style you’re aiming for. Edison or antique bulbs work well for this look. However, make sure the wattage is compatible with the sockets you’ve chosen and that the bulbs are suitable for indoor use.
4. Experiment and Customize the Design
While this guide provides a basic framework for building a medieval-style lamp, don’t be afraid to experiment and add your own touch to the final product. Use different materials and embellishments to give your lamp a unique look.
Conclusion
Making a DIY lamp that looks medieval can be a fun and creative project. With the right materials and a clear plan, you can create a unique medieval-style lamp that will add character to your home. Don’t be afraid to experiment and customize the design. Your lamp should be a reflection of your creativity and personality. So, step back in time and create a medieval lamp that will light up your home with its antique beauty.