Shedding a new light on sustainability and artistic expression, this article delves into the exciting world of creating DIY lamps from recycled materials. In an era where environmental conservation is crucial, finding innovative ways to repurpose discarded items not only reduces waste but also adds a touch of eco-consciousness to our living spaces. By following simple steps and exercising their creativity, readers can transform ordinary objects into one-of-a-kind lamps that not only illuminate their homes but also reflect their unique style and commitment to sustainability.
Gathering Materials
Embark on a scavenger hunt in your own home, attic, or local thrift stores to find hidden treasures waiting to be repurposed into lamp materials. Look for items that can be recycled such as glass bottles, old mason jars, vintage teacups, tin cans, and discarded wood. These materials can be found at little to no cost, minimizing both your carbon footprint and expenses.
When choosing materials, consider their shape, size, and overall condition. Glass bottles can serve as elegant lamp bases, while tin cans can be transformed into quaint desk lamps. Vintage teacups can provide a whimsical touch, and discarded wood can be carved into beautiful lamp stands.
Recycling materials not only gives them a new lease on life but also adds a unique character to your lamp. The imperfections and history of the recycled items can bring a sense of nostalgia and charm to your creation.
Planning and Design

Before diving into your DIY lamp project, spend some time sketching out your design ideas. Consider factors such as the lamp’s aesthetics, functionality, and the overall theme you wish to achieve. Do you prefer a rustic, industrial, or bohemian style? Let your creativity flow as you envision your finished piece.
Once you have a clear vision, gather inspiration from online platforms, interior design magazines, or DIY lamp projects shared by others. This research will help refine your concept and offer innovative techniques to make your lamp truly stand out.
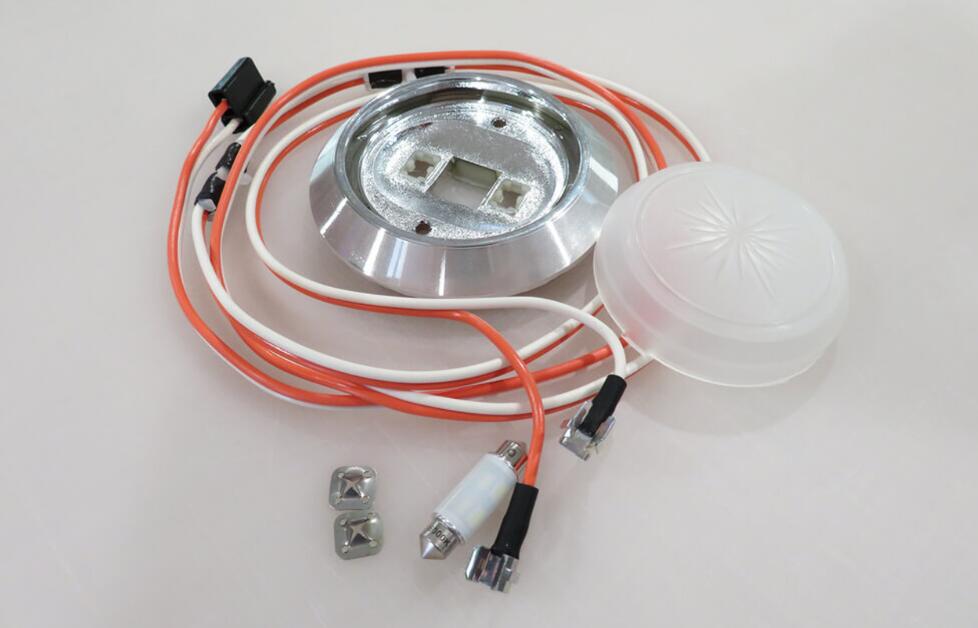
Furthermore, it is important to consider the electrical components and light sources that will bring your lamp to life. Purchase lamp kits or individual components such as lamp sockets, plug sets, and cords from your local hardware store or order them online. Choose energy-efficient LED light bulbs, which not only reduce energy consumption but also have a longer lifespan.
Pro Tip: Planning and designing your lamp is an opportunity to experiment with different materials. For example, using colored glass bottles can create a striking ambiance, while repurposed metal mesh can cast intriguing light patterns. Let your imagination soar as you consider the possibilities of each material.
Deconstructing and Preparing Recycled Materials
Once you have gathered your materials, it’s time to deconstruct and prepare them for your DIY lamp project. This step ensures optimal utilization while minimizing waste. Here’s how to handle common recycled materials:
Glass Bottles:
To transform glass bottles into lamp bases, remove any labels and adhesive residue by soaking them in warm soapy water or using a commercial adhesive remover.
Ensure that the bottles are thoroughly cleaned and dried before proceeding. If you want to modify the shape of the bottle, consider using a glass cutter or scoring tool to carefully create the desired opening.
Warning: When cutting glass, wear protective gloves and eye goggles to avoid injuries. Take your time and make precise cuts.
Wood:
For lamp stands or bases made of wood, start by removing any nails or screws and sanding the surface to create a smooth finish.
If you have reclaimed or weathered wood, embrace its natural beauty by highlighting its texture through gentle sanding or applying a clear protective sealant.
If necessary, drill holes or slots into the wood to accommodate the electrical components securely.
Tin Cans:
An exciting way to repurpose tin cans is by transforming them into charming desk lamps or pendant lights. Begin by removing the lids of the cans using a can opener.
Next, thoroughly clean and dry the cans. To add a touch of creativity, consider painting or decorating the exterior with patterns, colors, or even decoupage techniques using napkins or vintage paper cutouts.
When selecting the can size, ensure that it accommodates the necessary electrical components comfortably.
Pro Tip: If you don’t have access to specialized tools like a glass cutter or drill, consider seeking assistance from a local maker or a workshop where you can rent equipment. They can guide you through the process safely and help bring your design ideas to life.
Keep Reading…
Assembling and Wiring
With your deconstructed and prepared materials in hand, it’s time to assemble and wire your DIY lamp. Follow these steps to ensure a successful creation:
Step 1: Secure Electrical Components
Start by securing the lamp socket to the lamp base or stand. For glass bottles or wood bases, use a suitable adhesive to attach the socket securely. Tin cans can have the socket attached by drilling a hole into the side and threading it through.
Make sure the socket is centered and level, ensuring the stability of the lamp.
Step 2: Connect the Wiring
Begin by threading the electrical cord from the bottom of the lamp base or stand through the hollow center of the stand (if applicable). Leave enough length to reach the socket comfortably.
Next, strip the insulation from the end of the cord to expose the wires. Connect the neutral wire (usually indicated by ribbing or a smooth surface) to the silver screw terminal on the socket and the hot wire (usually indicated by a colored coating) to the brass screw terminal.
Avoid leaving any exposed wire and ensure that the connections are tight and secure.
Step 3: Wire the Plug
Proceed to wire the plug end of the cord. Follow the instructions provided with your plug kit or follow these general steps:
- Strip the insulation from the cord end.
- Separate the wires and connect them to the corresponding terminals on the plug. The neutral wire connects to the wider blade slot, and the hot wire connects to the narrower blade slot. The grounding wire attaches to the round grounding terminal.
- Tighten the screws on the plug terminals to secure the connections.
Double-check your wiring for accuracy and make sure there are no loose or exposed wires.
Step 4: Test and Troubleshoot
Before completing the assembly of your DIY lamp, plug it into a power outlet and test it to ensure it functions correctly. If the lamp does not turn on, double-check your wiring connections and check for any issues such as a blown bulb or a faulty socket.
Always prioritize safety. If you encounter any electrical problems or are unsure about any step, consult a professional electrician.
Customization and Finishing Touches
Now that your DIY lamp is fully functional, it’s time to add your personal touch and make it truly unique. Consider the following customization options:
Painting and Finishes:
Add color and texture to your lamp base or stand by applying paint. Consider using eco-friendly paints or water-based finishes to minimize environmental impact. Use techniques such as distressing, stenciling, or layering to create visually interesting effects.
Decoupage:
Decorate your lamp base or the lampshade by applying decoupage techniques. Cut out images or patterns from old magazines, wrapping paper, or even fabric, and adhere them to the lamp’s surface using decoupage glue or a mixture of white glue and water. Finish with a clear sealant for durability.
Embellishments:
Add a touch of charm with embellishments such as ribbons, beads, shells, or natural elements like twigs or dried flowers. These elements can be attached using craft glue or adhesive dots.
Pro Tip: Remember, your lamp is a reflection of your unique personality and style. Don’t hesitate to experiment and try new ideas. You can always change or update your lamp’s customization over time.
Continued…
Lighting Up with Pride
Completing your DIY lamp project is an accomplishment to be proud of. Aside from the satisfaction of creating something with your own hands, you’ve also taken a step towards a more sustainable and eco-conscious lifestyle. Now, it’s time to showcase your creation and inspire others to follow suit.
Here are a few ideas for sharing and using your DIY lamp:
Display and Decor:
Place your DIY lamp in a prominent spot in your home, where it can be admired by family and guests. Let it be a conversation starter, allowing you to share the story of its creation and your commitment to recycling and sustainability.
Gifts and Personalized Creations:
Consider making DIY lamps as unique gifts for friends and loved ones. Personalize each lamp according to their individual tastes and interests. Handmade gifts have a special charm and show the thought and effort put into creating them.
Online Sharing:
Document your DIY lamp project through photographs or videos and share them on social media platforms or personal blogs. Encourage others to try their hand at repurposing materials and showcase their own creations. Engage in conversations about sustainable living and inspire others to adopt eco-friendly practices.
Remember: The possibilities for DIY lamps from recycled materials are endless. Let your imagination run wild, think outside the box, and continue exploring new ideas.
Conclusion
Creating a DIY lamp from recycled materials is a perfect blend of creativity and sustainability. By repurposing discarded items, you not only reduce waste but also breathe new life into objects that would have otherwise been forgotten.
With careful planning, attention to detail, and a dash of ingenuity, you can craft a lamp that not only illuminates your space but also reflects your personal style and commitment to a greener future. Let your DIY journey begin, one recycled material at a time!
So, start rummaging through your closets, garage, or local thrift stores, and uncover hidden treasures waiting to be transformed into stunning DIY lamps. Embrace the joy of creating something unique, eco-friendly, and truly illuminating.